Chapter 6: CHANGING A TYRE
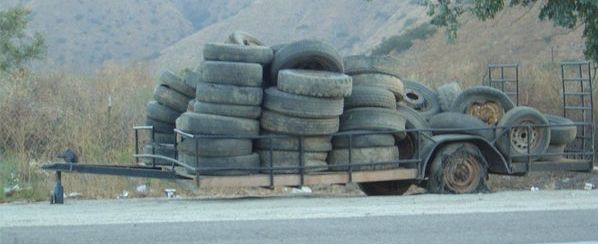
The definition of IRONY!
Do you know how to correctly change a tyre on your car if it becomes flat?
Whilst there are good Samaritan who might come to your aid, there are also bad people in our society that prey on motorists needing help.
By correctly maintaining your vehicles tyres you reduce the chances of getting a punctured or flat tyre. But it still can happen.
Be particularly mindful after driving long distances on gravel roads or after driving over broken glass to check your tyre pressures.If the steering feels less responsive or the car tends to start pulling to one side, stop as soon as safely possible and check the tyre pressures, using your own pressure gauge.
A punctured tyre is an inconvenience. But driving on a flat tyre is dangerous and will generally destroy the tyre no matter how slow you drive. It possibly may be safer though (especially in a high crime area) for a female motorist to limp slowly along the edge of the road, than have to flag down a stranger to help change a tyre late at night on a deserted road (but doing so will destroy the tyre internally)
NOTE: Step 1 & 2 below need to be performed before a puncture happens.
STEP 1: Make sure the wheel nuts are not over-tightened otherwise you may not be able to get the flat tyre off. When having the car serviced or new tyres put on your car, the mechanic or tyre fitter may only use a rattle gun to re-tighten your cars wheel nuts. This might mean the wheel nuts are on so tight you cannot loosen them with the tyre lever. A good service repairer will also use a torque wrench to make sure the wheel nuts are tightened to the correct amount. The vehicles handbook usually sets out the correct torque.
STEP 2: Make sure the spare tyre has at least the correct amount of air. If still over-inflated you can let air out with your gauge. But no matter how hard you blow you cannot add air to a flat spare tyre.
STEP 3: Park safely as far from the road as possible whilst ensuring the vehicle is on firm and level ground. Do not attempt to jack the car on a slope nor on sand or soft terrain.
STEP 4: Switch off the ignition, apply the parking brake and put the car in 1st gear or PARK.
STEP 5: Use hazard lights to warn other drivers, display a warning triangle if available. If stopped over the crest of a hill or in a corner or your body is protruding into the passing traffic, provide warning to approaching traffic.
STEP 6: Remove the spare tyre, place the spare half under car. To catch the car if it unexpectedly falls from the jack.
STEP 7: Chock the front and rear wheels on the other side of the vehicle from the flat tyre.
STEP 8: Remove wheel trims if necessary and loosen wheel nuts slightly. This reduces the time the car is held aloft by the jack.
STEP 9: Only now at this stage with everything ready do you position the jack under the car. Refer to handbook for correct jacking points. You can damage the vehicle lifting from the wrong place. For many cars the jacking points are designated by a notch in the seam.
STEP 10: Raise jack slowly and carefully. Never allow any body parts under the car.
STEP 11: Remove the wheel nuts, don’t lose any try and keep them out of dirt. Take the flat tyre off car and place it under car where spare was, put spare tyre on the car.
STEP 12: Begin tightening wheel nuts making sure wheel is correctly on studs. Tighten till firm.
STEP 13: Lower vehicle from jack. Now tension wheel nuts by always work across wheel tightening opposite sides to ensure correct fitment. Do not over-tighten.
STEP 14: Store jack, wheel brace and flat tyre safely, remove chocks from wheels. Remember to have damaged tyre repaired or replaced as soon as possible.
(Written by Joel Neilsen, Managing Director, Safe Drive Training)


